Getting blood drawn isn’t exactly something people look forward to. Whether or not you’re fine with needles, it can still be an uncomfortable experience. And if you’ve ever had trouble finding a vein, you know it can make the process even tougher. The good news? There are ways to make finding a vein easier and less stressful. Here’s a simple guide to help you get through it as smoothly and painlessly as possible.
Getting Ready for the Blood Draw
Preparation is key to making it easier to locate a vein. Start by staying hydrated—drink lots of water beforehand. When you’re dehydrated, your veins shrink and become harder to locate. It’s also a good idea to avoid caffeine since it can have a similar effect.
Keeping your skin clean is just as important. Clean skin helps the needle glide in more smoothly and minimizes the risk of infection. Wash your hands and arms with soap and water, and if you have the time, use an alcohol swab to clean the specific area where the needle will go.
How to Find a Vein
When you’re ready, these are some of the most popular methods to locate a vein.
1. Using a Blood Pressure Cuff
A blood pressure cuff can help by moving blood from your arms or legs toward your heart, making veins more visible. Wrap the cuff around your arm and inflate it—not too tightly, just enough to feel snug. Wait a few moments for the pressure to build and start releasing it. As the cuff deflates, your veins should become easier to spot. Find a good one, and you’re ready to insert the needle.
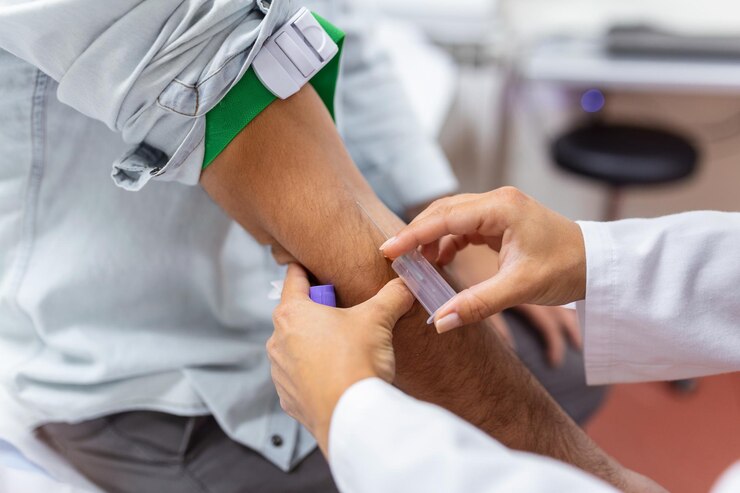
2. Trying the Tourniquet Method
This involves using a tourniquet to temporarily reduce blood flow, making veins more prominent. Wrap the tourniquet around your arm and tighten it enough to be snug, but not too tight. Like with the cuff method, let the pressure build for a few moments. As you loosen it, the veins should rise closer to the surface.
3. Using a Vein Finder
If the traditional methods aren’t helping, you can try a vein finder device. These handheld gadgets use infrared light to detect veins just under the skin. Simply place it on your skin, move it around, and wait for the device’s light to indicate a vein. Once it identifies one, you can proceed with the blood draw.
4. The Tapping Method
Tapping on the area can make veins easier to spot by briefly restricting blood flow. Lightly tap the area with your fingers for about 30 seconds—longer if needed. If you have a small rubber hammer, that works too. Once the veins become visible, you’re ready.
Helpful Tips
Here are some practical tips for better success when searching for a vein:
– Focus on areas where veins are closer to the surface, like the inside of your elbow, the back of your hand, or the top of your foot.
– Apply gentle pressure to the area, which can push the veins closer to the surface.
– Use heat to make the veins dilate—placing a warm compress on your arm can help.
– Limit movement. Moving too much can make it harder to find a vein and might even cause the needle to dislodge once inserted.
– Stay calm and relaxed. Tension can make veins harder to locate, so take deep breaths and keep your cool.
Takeaway
Finding a vein doesn’t have to feel like a daunting task. With a little preparation, patience, and these simple techniques, you can make the process quick and as pain-free as possible. Just remember to remain calm, pick an accessible spot, and give yourself some grace if it takes a little practice. Before you know it, you’ll be done and on your way!